Hey there, audio enthusiasts! If you're like me, you know how important it is to keep your speakers in top-notch condition. One often overlooked but crucial part of a speaker is the steel mesh. Over time, the speaker steel mesh can get damaged, dirty, or just start to look worn out. In this blog, I'm gonna walk you through the process of replacing speaker steel mesh. And hey, I'm a speaker steel mesh supplier, so I've got some insider knowledge to share with you.
Why Replace the Speaker Steel Mesh?
First off, let's talk about why you might want to replace the speaker steel mesh. The steel mesh on your speakers serves a few important functions. It protects the delicate speaker components from dust, debris, and accidental damage. It also plays a role in the speaker's aesthetics, giving it a finished look.
If the mesh is torn, dented, or clogged with dirt, it can affect the sound quality of your speakers. A damaged mesh might not allow the sound waves to pass through as smoothly, leading to a loss of clarity or even a change in the overall sound profile. Plus, let's be honest, a beat-up mesh just doesn't look good.

Tools You'll Need
Before you start replacing the speaker steel mesh, you'll need to gather a few tools. Here's what I recommend:
- Screwdriver: Depending on your speaker, you might need a Phillips or flathead screwdriver to remove the speaker grille or access the mesh.
- Pliers: You'll use these to gently remove any clips or fasteners holding the old mesh in place.
- Utility Knife: This will come in handy for cutting the new mesh to the right size.
- Adhesive: Some speakers use adhesive to hold the mesh in place. Make sure you have the right type of adhesive for your speaker.
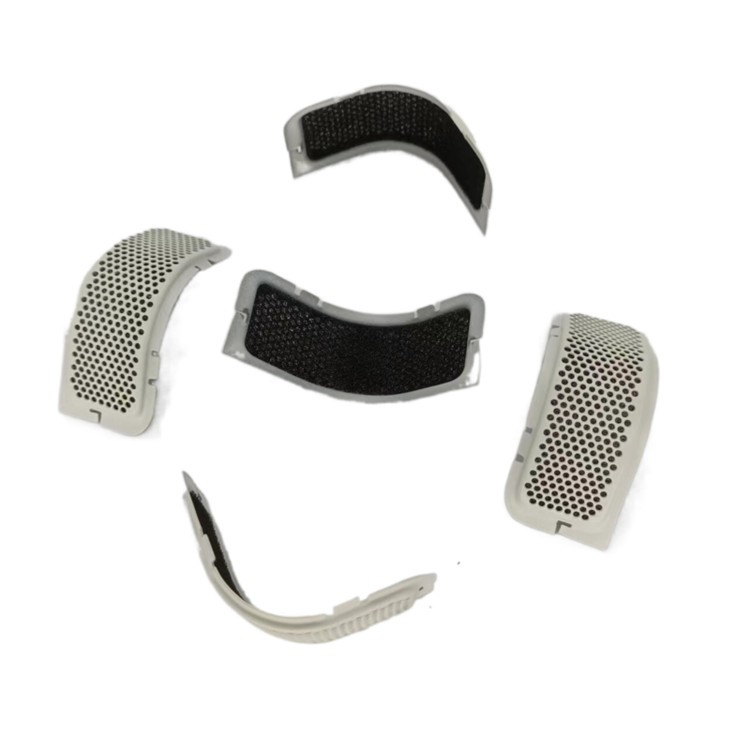
- New Speaker Steel Mesh: Of course, you'll need a new mesh. As a supplier, I can tell you that there are different types of steel mesh available, each with its own characteristics. You can check out our Stereo Speaker Grills and Metal Mesh Speaker Grill options for some great choices.
Step-by-Step Guide to Replacing the Speaker Steel Mesh
Step 1: Remove the Speaker Grille
The first step is to remove the speaker grille. This is usually held in place by screws or clips. Use your screwdriver or pliers to carefully remove the fasteners and take off the grille. Be gentle so you don't damage the grille or the speaker itself.
Step 2: Remove the Old Mesh
Once the grille is off, you can see the old mesh. If it's held in place by clips, use your pliers to gently remove them. If it's glued on, you might need to use a utility knife to carefully cut the adhesive. Take your time with this step to avoid damaging the grille or the speaker frame.
Step 3: Measure the Mesh
Before you cut the new mesh, you need to measure the size of the opening where the old mesh was. Use a ruler or measuring tape to get accurate measurements. Make sure to measure both the length and width of the opening.
Step 4: Cut the New Mesh
Now it's time to cut the new mesh to size. Use your utility knife to carefully cut the mesh according to the measurements you took. It's a good idea to cut the mesh a little larger than the opening so you have some extra to work with.
Step 5: Install the New Mesh
Once the new mesh is cut to size, it's time to install it. If your speaker uses clips, carefully place the mesh in the opening and secure it with the clips. If it uses adhesive, apply a thin layer of adhesive to the frame where the old mesh was. Then, carefully place the mesh on the adhesive and press it down firmly to make sure it sticks.
Step 6: Reattach the Speaker Grille
After the new mesh is installed, reattach the speaker grille. Use your screwdriver or pliers to put the fasteners back in place. Make sure the grille is securely attached and that it sits flush with the speaker.
Tips and Tricks
- Clean the Speaker: While you have the grille off, it's a good idea to clean the speaker. Use a soft brush or compressed air to remove any dust or debris from the speaker components.
- Test the Speaker: Once you've replaced the mesh and reattached the grille, test the speaker to make sure it's working properly. Play some music and listen for any changes in the sound quality.
- Choose the Right Mesh: As I mentioned earlier, there are different types of steel mesh available. Consider the thickness, pattern, and finish of the mesh to find the one that best suits your speaker and your personal preferences. You can also check out our Speaker Cover 6 Inch option for a great choice if you have a 6-inch speaker.
Conclusion
Replacing the speaker steel mesh might seem like a daunting task, but with the right tools and a little patience, it's definitely doable. By following the steps outlined in this blog, you can give your speakers a new lease on life and improve their sound quality and appearance.
If you're in the market for new speaker steel mesh, I'm here to help. As a supplier, I offer a wide range of high-quality mesh options at competitive prices. Whether you're a DIY enthusiast or a professional audio technician, I've got the products you need. So, if you're interested in purchasing speaker steel mesh, don't hesitate to reach out. We can discuss your specific needs and find the perfect solution for you.
References
- Personal experience as a speaker steel mesh supplier.
- General knowledge of speaker repair and maintenance.


